I thought I’d share my UI/UX design workflow and my thoughts about Illustrator and Photoshop.
Which is better for UI/UX, inDesign, Illustrator or Photoshop
Because of my publication background, it was hard for me to let go of inDesign for mocking up my UI projects. I eventually moved to Illustrator when I needed to produce Responsive Web Design (RWD) layouts, because it was easier for me to create different artboards in one Illustrator document than it was to create separate inDesign files for each screen size. Now though, I only do mockups in Illustrator and the final layouts in Photoshop.
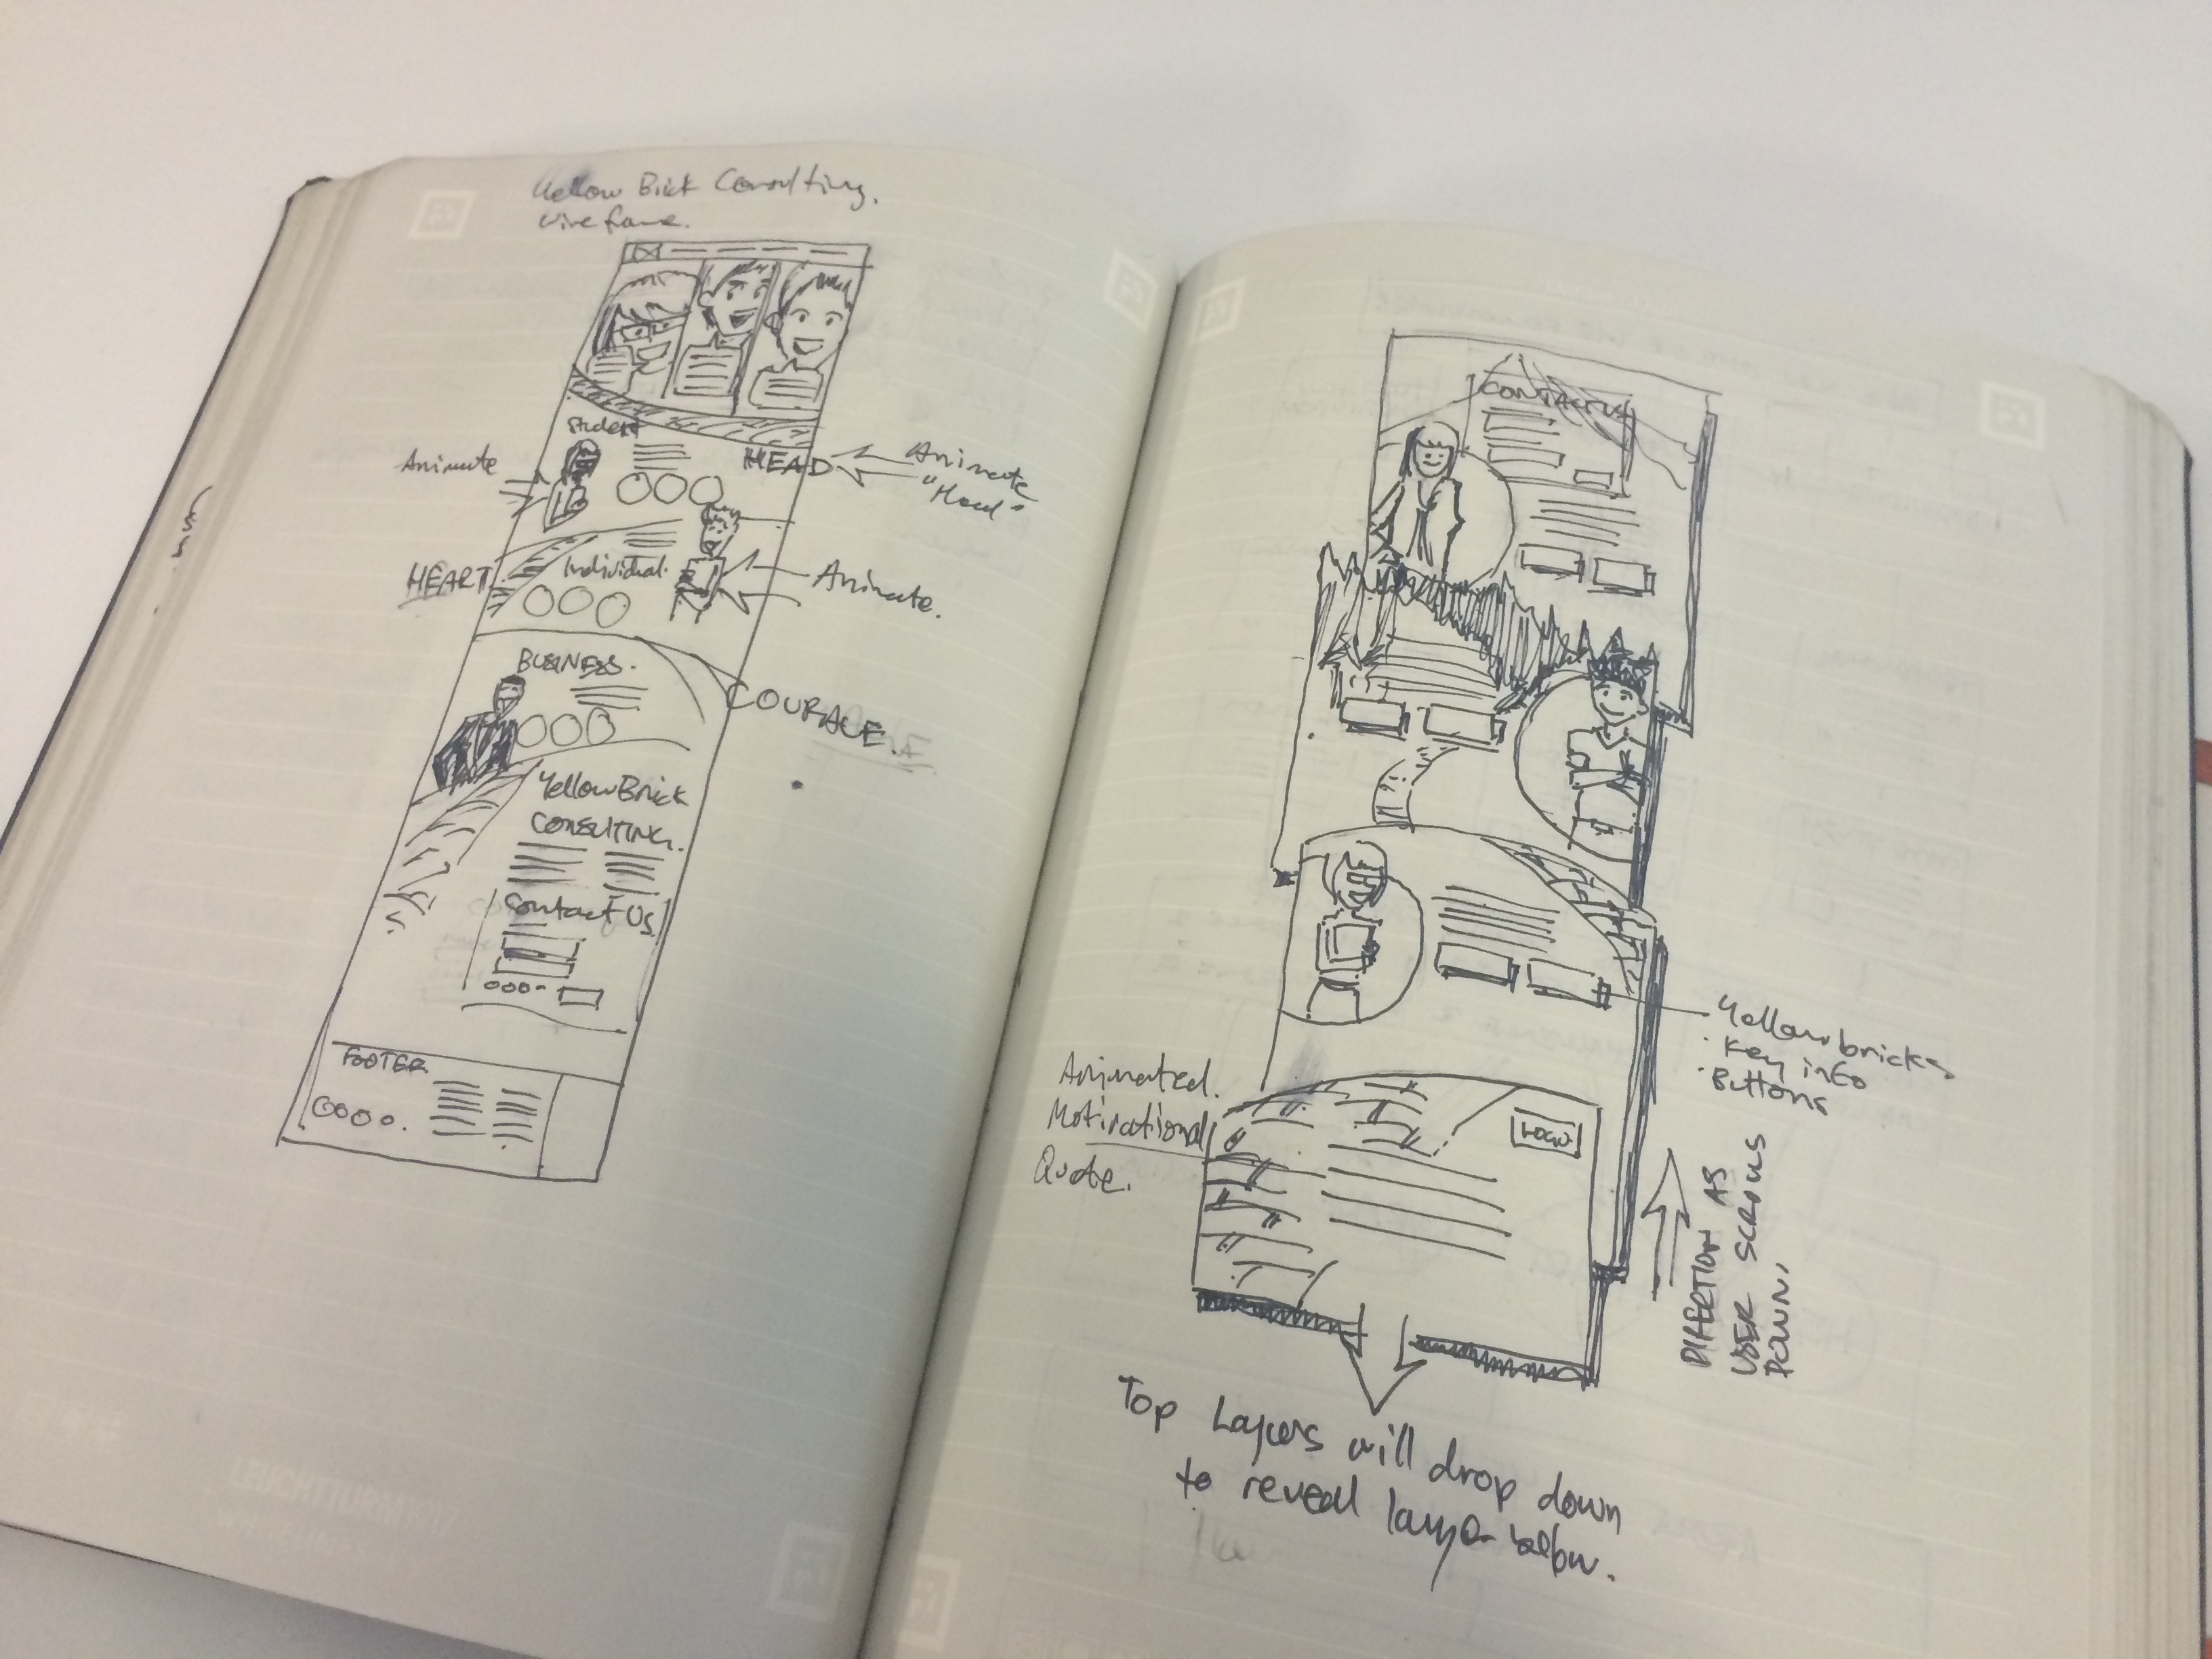
Why don’t I just use Photoshop or Illustrator for both mockups and final layouts? The reason is, I find Photoshop vector tools too clumsy. When I want to mock something up I’ll sketch it up quickly on paper and then go into Illustrator for a quick mockup. Illustrator is a great drawing tool, but not only that, it’s a great thinking tool as well. For me it’s easier to think and create in Illustrator than it is in Photoshop. I find that I think and create naturally using Illustrator, but this might not be the same for everyone. As an artist, feeling comfortable with using the right tools is just as important as the final creation. Use the tools that you feel comfortable using, that way you can focus on creating rather than learning how to use your equipment.
How to Setup Illustrator for UI/UX Design
First thing first, setting up your Illustrator document for UI/UX projects. I found this article My Vector Workflow by legendary digital designer Janos Koos, to be extremely helpful.
Prototyping
Once I have my artboard layout finalised in Illustrator I export them out as .PNGs and upload them online using a prototyping tool called Marvel App. Marvel App allows me to see my layout online at the correct resolution, and also can be sent to a particular device, such as iPhone or Tablets, this is important, especially when designing for RWD and Retina Display. Another great feature of Marvel App is the ability to ad simple touch animations that you would typically see on phones and tablets.
After the prototype has been approved its now back to Illustrator to start collecting the different vector assets into Adobe CC Libraries. Libraries are great, because now you can share assets; such as colours, logos and graphic elements across devices and people on your team. At this stage, you should have a clear idea of each of your UI elements, such as buttons, forms, etc, and the way they will respond to inputs. What the hover state are etc. Once this is all done, it’s now time to design the final project in Photoshop.
Exporting Final Assets Using Photoshop
You may question why I just don’t just output my assets out of Illustrator. Well it’s abit technical, but if you really want to know, here’s a good article to explain it in simple terms, Designer’s Guide to DPI. The tldr version; Illustrator can’t output to PNGs as accurately and pixel-perfect as Photoshop.
In Photoshop, I create different artboards for each page of the UI/Project. I also create all the assets, thinking about how each will be outputed. For example, creating a separate artboard for sprites. I only really use Layer Comps in Photoshop for notes to the developers. How I want an element to pulse, or animate in/out. I use layer groups to organise my page, and separate artboards for each page of the project. Depending on how large the project is, I often have an artboard for each different break point for RWD and different devices for Retina screens.
Designing for Retina screens can be cumbersome, especially for larger projects, but to keep things simple, I work on 72PPI and export final assets into different folders @2x and @3x(if needed).
Leave a Reply